Waterproofing 3D Printed Net Pots for Deep Water Culture DWC
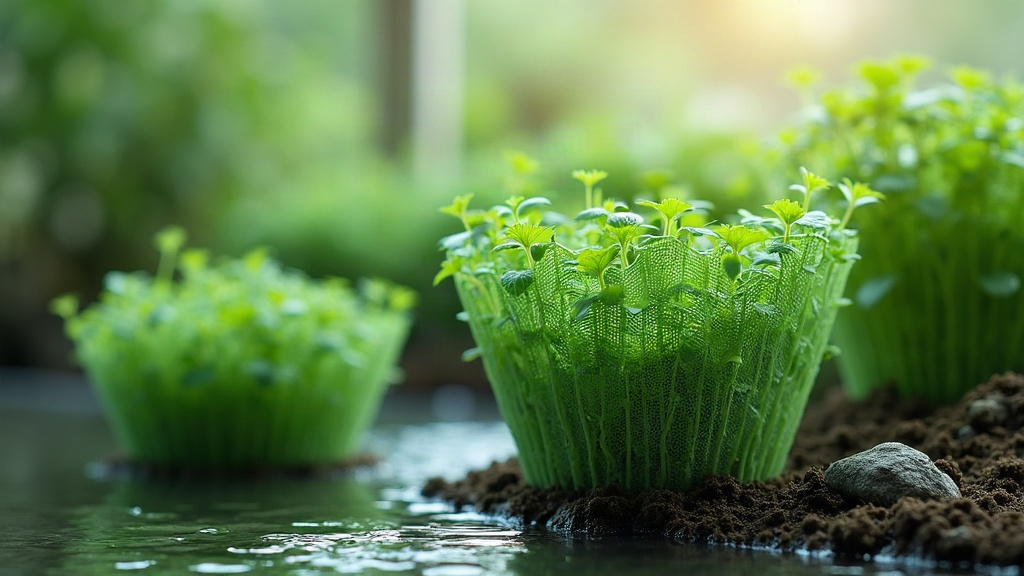
If you’ve ever printed your own net pots for a Deep Water Culture (DWC) system, you already know the frustration. Standard PLA and PETG prints are porous by nature, and even a “watertight” slicer setting won’t stop moisture from creeping into layer lines after weeks of constant submersion. Waterproofing 3D printed net pots for DWC hydroponics is absolutely doable, but it takes the right filament, the right print settings, and a sealing method built for round-the-clock water contact. A quick coat of varnish just won’t cut it.
Why Net Pots Leak in the First Place
Net pots sit with their bottom and lower sides submerged in nutrient solution 24/7. FDM printing leaves microscopic gaps between layers, and even at 100% infill, tiny channels let water wick through the plastic over time. The result:
- Slow degradation of PLA (which isn’t water-stable long-term)
- Algae growth inside the print itself
- Warping or softening after weeks sitting in solution
- Root rot risk from moisture trapped where it shouldn’t be
Here’s the good part: net pots don’t need to be bulletproof everywhere. Only the structural body needs protection, since the whole point of a net pot is the mesh openings for roots. Your real job is keeping the plastic from saturating, not blocking water entirely.
Step 1: Choose the Right Filament First
Waterproofing really starts before you hit print.
- PETG - Best all-around pick. More water-resistant than PLA, handles warm nutrient reservoirs fine, resists breaking down over time.
- ASA - Great UV and moisture resistance if your system sits near a window or under a hot grow light.
- PLA - Skip it for long-term DWC unless you’re sealing it heavily. It softens and can leach after months in warm water.
- Steer clear of filaments marketed as “antibacterial” with vague additives. Some of those aren’t actually food-safe or hydroponic-safe.
Step 2: Print Settings That Reduce Porosity
A few small tweaks cut water infiltration way down before you even think about sealant:
- Bump wall count to 4-6 perimeters (default is usually 2-3)
- Run 100% infill on the structural ring/collar area
- Drop layer height to 0.12-0.16mm for tighter layer bonding
- Print slower, around 30-40mm/s, for better fusion between layers
- Nudge nozzle temp up slightly (staying within filament spec) to improve adhesion
A dense, well-bonded print needs far less sealant and simply lasts longer.
Step 3: Sealing Methods That Actually Work
Option A: Epoxy Resin Coating
A thin layer of food-safe epoxy on the solid (non-mesh) sections builds a hard, glass-like waterproof shell. Let it cure fully, 24-48 hours, before submerging. For long-term DWC use, this is the most durable route, hands down.
Option B: Plasti Dip / Rubberized Coating
Flexible rubber coatings fill micro-gaps and add a bit of impact resistance too. Apply 2-3 thin coats, letting each one dry completely. Works well for budget builds, though it won’t outlast epoxy over many grow cycles.
Option C: XTC-3D or Similar 3D-Print-Specific Coatings
Built specifically for FDM prints, these brush-on coatings fill layer lines and cure into a smooth, waterproof finish. A solid middle ground between cost and durability, probably the easiest one to recommend for most people.
What to Avoid
- Standard spray paint or clear coat (won’t hold up under constant submersion)
- Silicone caulk on its own (doesn’t bond reliably to all filaments)
- Automotive sealants that aren’t food-safe
Step 4: Don’t Seal the Mesh Openings
Only coat the solid collar/rim and the outer walls. The slotted or mesh sections need to stay open for root growth and water/nutrient exchange. Seal those and you’ve basically defeated the purpose of a net pot.
Maintenance Tips for Long-Term Use
- Check coated pots every grow cycle for cracking or peeling
- Rinse and air-dry net pots between crops before reusing them
- Re-coat high-wear pots every 2-3 cycles, especially epoxy-coated ones that see a lot of pH-adjusted solution
- Keep a few spare printed pots around. Replacing a $0.20 print is often faster than fixing a failing seal
Conclusion
Waterproofing 3D printed net pots for DWC really comes down to three layers of defense: print with a water-resistant filament like PETG, tighten up your print settings to cut porosity, and apply a proper sealant (epoxy or XTC-3D) only where the solid sections are. Skip the shortcuts, especially spray sealant, and your homemade net pots can easily outlast the store-bought ones. At a fraction of the price, too.