Cold-Weather Impact Resistance: Custom GoPro Mounts for Snowboarding
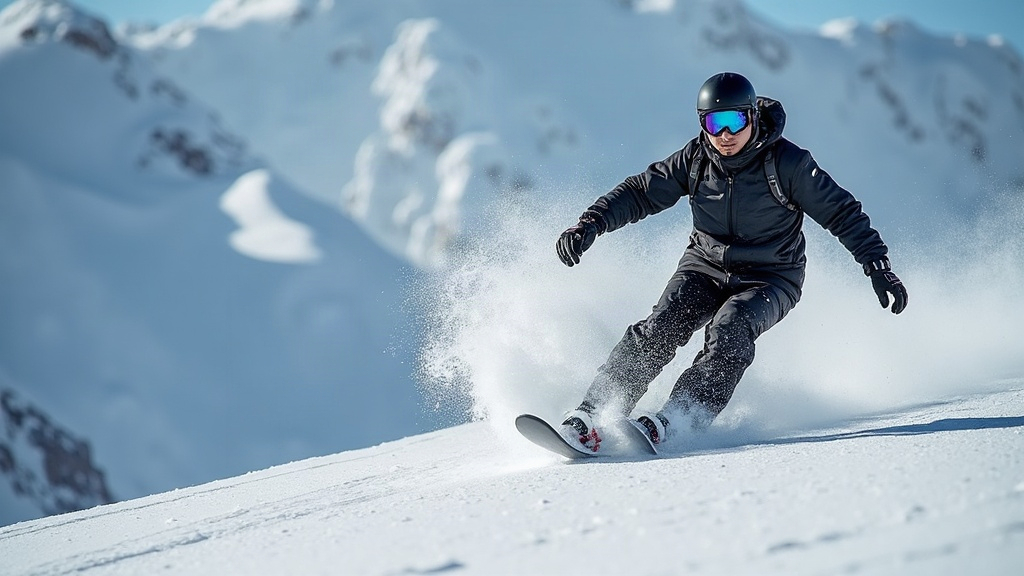
Printing a custom GoPro mount for your snowboarding helmet sounds easy enough, right up until that mount snaps mid-run on a morning so cold your breath freezes on your goggles. Cold-weather impact resistance is the one factor that decides whether a mount survives a full season of park laps or shatters on the very first chairlift drop. Below, I’ll walk through why plastics turn stiff and fragile in the cold, which materials and print settings actually hold up on the mountain, and how to design a mount that won’t quit on you halfway down a run.
Why Cold Weather Changes Everything
Most 3D-printed plastics get noticeably more brittle as the temperature drops. A mount that flexes and shrugs off a bump at room temperature can crack like a dropped wine glass once it’s sitting at 15°F. A few things are going on here:
- Polymer chains stiffen below their glass transition temperature, which cuts down the material’s ability to flex before it fractures.
- Layer adhesion weakens in parts printed or stored in cold conditions, so layer-line separation becomes a common (and frustrating) failure mode.
- Impact energy has nowhere to go. Instead of deforming a little, a brittle mount just transfers that shock straight into a crack.
That’s exactly why a mount that performed flawlessly during your garage test can fail spectacularly an hour into your first chairlift ride.
Best Materials for Cold-Weather GoPro Mounts
Not every filament behaves the same way once temperatures plunge. Here’s how the usual suspects compare:
PLA — Avoid It
PLA is the filament everyone starts with, but it’s a bad match for ski and snowboard gear. It gets noticeably more brittle below freezing and can snap on nothing more than a moderate fall, the kind you’d barely notice on a warm day.
PETG — Solid Budget Choice
PETG stays more flexible than PLA in the cold and holds its layers together reasonably well. It’s a sensible pick for casual riders who want a backup mount without spending extra on specialty filament.
ASA — Best All-Around Pick
ASA shrugs off UV exposure, beats PETG on toughness, and keeps its impact resistance in cold, dry conditions. That combination makes it a natural fit for mountain use, where sun glare off the snow and freezing air hit you at the same time.
Nylon (especially carbon-fiber reinforced) — Top Performance
Nylon blends give you the best impact resistance and flexibility at low temperatures, full stop. The catch: you’ll need a filament dryer and a heated enclosure to print it properly. This is what a lot of camera-mount brands and the more serious riders reach for.
TPU — For Shock-Absorbing Components
Designing a joint that needs to flex, or a base meant to soak up vibration? TPU (95A or similar) stays pliable even when it’s freezing out, which cuts down the risk of cracking right at the stress points.
Print Settings That Actually Matter
Picking the right material only gets you halfway there. Your print settings decide how that mount actually behaves on impact:
- Bump wall count up to 4-5 perimeters instead of the default 2-3. It adds real impact strength.
- Run 100% infill, or a dense gyroid pattern at 60%+, on load-bearing sections like the GoPro fork mount.
- Orient the part so layer lines sit perpendicular to the expected impact force. This one detail matters more than almost anything else for stopping layer separation when it counts.
- Print hotter and slower than you normally would, to get better layer fusion. Weak bonding between layers is the number one reason cold-weather mounts fail.
- Skip sharp internal corners in your design. Stress piles up there, and cracks race outward from sharp geometry faster than from anywhere else.
Designing for Real-World Falls
A snowboard fall is rarely a clean, straight-on hit. It’s usually a twisting, glancing impact that comes from an angle you didn’t plan for. A solid mount design accounts for that:
- Keep the mount low and tucked close to the helmet shell, so there’s less leverage working against it during a fall.
- Build in a breakaway or flexible joint so the mount deforms or pops off instead of cracking the helmet shell underneath it.
- Round every edge and fillet with at least a 2mm radius to kill off stress risers before they start.
- Freeze a prototype overnight, then drop it from helmet height onto packed snow or ice. Do this before you ever trust it on the hill.
Quick Cold-Weather Checklist
- Material: ASA or Nylon over PLA
- Walls: 4+ perimeters
- Infill: 60-100% in mounting points
- Test: freeze and drop-test before riding
- Design: rounded edges, low profile, breakaway joint if possible
Final Thoughts
Printing your own GoPro mount for a snowboarding helmet is a great way to nail the exact fit and camera angle you want, but cold-weather impact resistance can’t be something you figure out later. Pick a tougher material like ASA or nylon, thicken up those walls, push the infill higher, and round off every sharp edge in your design. Do that, and you’ll end up with a mount built for actual mountain conditions, not just a living-room drop test. Get it right the first time, and you’ll spend the season capturing runs instead of digging broken plastic out of the snow.