Safe Aquarium Cave Designs for Axolotls: Resin & FDM Edge Guide
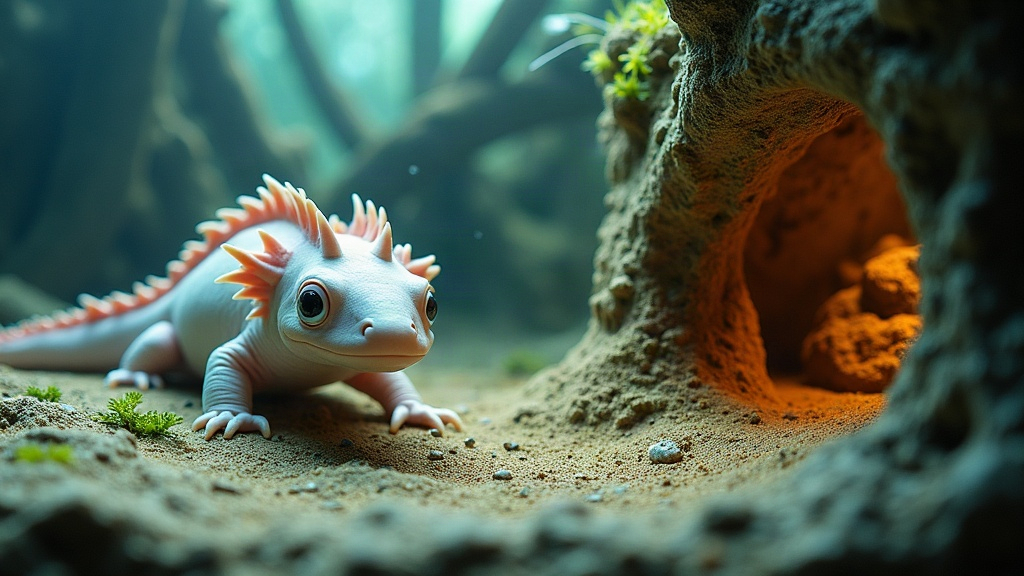
Why Cave Safety Matters for Axolotls
Axolotls need somewhere to hide. Caves lower their stress, give them a sense of control over their space, and keep their skin from getting torn up on rough surfaces. But here’s the catch: a badly made cave is often worse than no cave at all. Uncured resin leaches toxins into the water. Sharp layer lines from an FDM print can scrape gills and skin that are nowhere near as tough as you’d think.
Think about what axolotl skin actually is: thin, permeable, built more like a frog’s than a fish’s. Their external gills are even more delicate, basically exposed tissue waving around in the water. Add in the fact that axolotls love squeezing into tight spots and rubbing against things when they’re exploring or shedding, and you start to see the problem. A rough edge that wouldn’t bother a goldfish can genuinely injure an axolotl.
Here’s what you’re actually guarding against:
- Chemical leaching from improperly cured resin (uncured monomers are toxic to aquatic life, full stop)
- Physical abrasion from rough or sharp printed edges
- Trapped gas pockets inside hollow resin prints, which can slowly off-gas for weeks after you think the piece is finished
- Sharp internal corners in caves that are too small, which cause injury when the axolotl tries to back out
Bottom line for any cave you build: smooth interior walls, rounded entrances wide enough for an easy exit, and zero chemical residue. No exceptions.
Choosing the Right Resin
Not all resin behaves the same way once it’s in an aquarium. Epoxy casting resin, UV resin, and SLA/DLP 3D-print resin each need their own safety routine, and treating them interchangeably is how people get into trouble.
Epoxy and UV Resin
- Buy resin labeled food-safe or aquarium-safe once fully cured. That label isn’t a magic guarantee, but it’s a solid starting point and better than guessing.
- Get the mix ratio right. This matters more than people expect. Under-catalyzed epoxy never fully hardens; it stays tacky and keeps leaching, sometimes for months.
- Cure in a warm, dust-free spot, around 70-75°F, for the full time the manufacturer lists. Then add 48 to 72 extra hours on top of that as a buffer. Yes, even if it already feels hard.
SLA/DLP Resin Prints
- These need real post-processing, not just a quick rinse. Wash the piece in isopropyl alcohol (IPA), then UV-cure it under a lamp or in direct sunlight for at least 30-60 minutes per side.
- Even a print you’d call “fully cured” should still soak in dechlorinated water for 3-5 days, with a water change every day. This pulls out the residual uncured resin sitting on the surface that curing alone doesn’t remove.
- Check the SDS (Safety Data Sheet) for the resin’s photoinitiators before you commit to a batch. Some aren’t rated for long-term submersion, and that’s the kind of detail you don’t want to discover after your axolotl’s already in distress.
Test tip: Before any cured resin piece goes into the main tank, run a 48-hour trial first. Drop it in with something hardy, ramshorn snails work well, or test the water with a fish-safe betta. Cheap insurance against an expensive mistake.
FDM 3D Printing: Smoothing the Edges
FDM printing (the filament kind) is a popular route for axolotl caves, mostly because PETG and some PLA blends are inert in water. The real issue isn’t the material itself, it’s the layer-line texture left behind by the printing process.
Material Choice
- PETG is the clear winner here: water-resistant, stable over time, and generally considered inert once it’s printed.
- Skip PLA for anything permanently submerged. It looks fine at first but slowly hydrolyzes and softens over the course of months underwater.
- Leave ABS off the list entirely. It warps, and it’s not reliably water-safe for long-term use.
Smoothing Techniques
- Sand progressively. Start at 220 grit, work up to 400, then finish with 800-1000 grit wet sanding until the interior feels glass-smooth, not just “pretty smooth.”
- Flame polishing (PETG only). A quick, careful pass with a heat gun melts down the visible layer lines. Go slow here; rush it and you’ll warp the piece or thin the walls without noticing.
- Food-safe epoxy coating. A thin, fully cured epoxy layer brushed over sanded PETG seals up whatever texture and layer gaps are left.
- Print orientation matters more than people think. Design the cave so the entrance and interior walls print in a direction that minimizes visible layer stacking inside the tunnel itself.
Design Specs for Axolotl Comfort
- Entrance diameter should be at least 1.5x the width of your axolotl’s body at its widest point. Measure your actual animal, don’t guess.
- No dead-end pockets narrower than the animal’s head. An axolotl that gets its head stuck in a shrinking tunnel is a bad night for everyone.
- Round every interior corner instead of leaving them sharp. Fillet all edges in your CAD model with a minimum 3-5mm radius.
- Add multiple exits where you can. An axolotl that feels trapped in a single-entrance cave will often avoid it altogether.
Final Safety Checklist Before Adding to the Tank
- Resin fully cured (manufacturer time plus a 48-72 hour buffer)
- Piece soaked in dechlorinated water for 3-5 days, with daily water changes
- All printed edges sanded to at least 400 grit, ideally 800+
- No lingering chemical smell (a strong giveaway that curing isn’t finished, no matter how hard the piece feels)
- Entrance and exit sized appropriately, corners rounded
- Water parameters (ammonia, pH) tested 24 hours after placement, before the axolotl goes back in
Conclusion
A well-made cave gives your axolotl somewhere to feel safe without putting its health on the line. The whole thing comes down to patience, really. Fully cure every resin piece and add the extra buffer time anyway. Soak and rinse before it touches the tank. Sand FDM prints until they’re smooth to the touch, not just smooth-looking under tank lighting. Skipping any of these steps is, by far, the most common reason axolotl keepers end up chasing down mystery stress or skin irritation right after adding new decor. Spend the extra few days up front and your axolotl ends up with a hideaway that’s actually safe, and built to last for years, not weeks.