Designing Custom 3D Printed Inserts for Heavy Euro Board Games
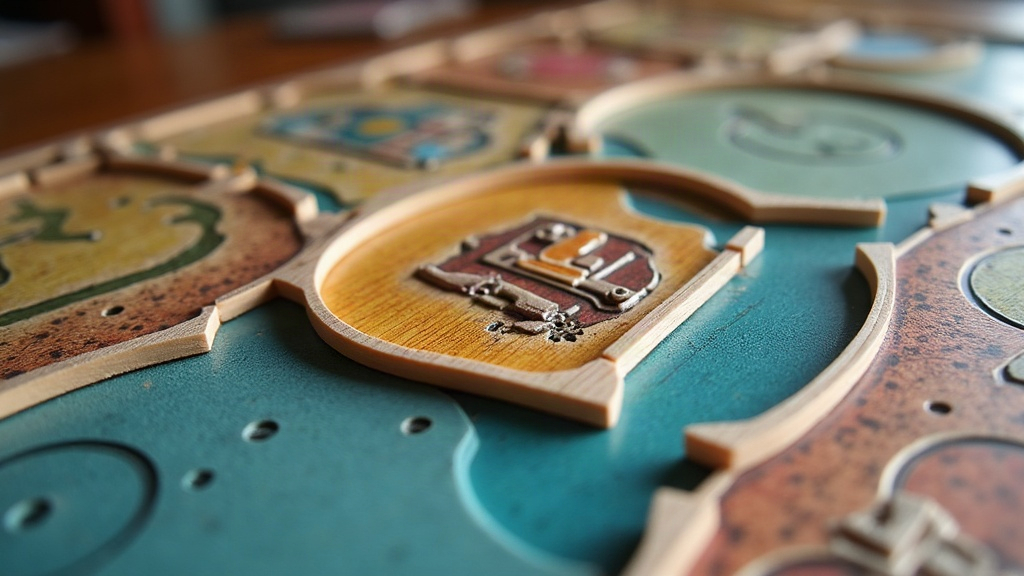
If you love heavy tabletop gaming, you already know the struggle: you crack open a massive box and get greeted by a chaotic sea of plastic baggies. Heavy Euro games are notorious for their mountain of components: resources, meeples, player boards, hundreds of cards. Designing custom 3D printed inserts for heavy Euro board games is the ultimate way to slash setup and teardown times, protect your investment, and bring some real order to your game night. Build your own storage solutions with food-safe PETG printing and you can tailor every tray to fit your exact needs, whether you’re running premium thick card sleeves or trying to cram three expansions into one box.
Why Create Your Own Tabletop Organizers?
Sure, there are plenty of generic organizers and pre-made STL files floating around online. But designing your own offers benefits those files just can’t match:
- Custom Card Sleeve Tolerances: Pre-made files rarely account for your specific brand of 100-micron premium sleeves, and almost never for double-sleeved decks.
- Expansion Consolidation: As you pick up expansions for games like Terraforming Mars or A Feast for Odin, a custom design lets you merge the new pieces with the base game instead of juggling two boxes.
- Play-from-the-Box Convenience: Design resource trays that move straight from the box to the table. It saves table space and keeps the play area from turning into a mess by round three.
Essential Tools for the Job
Before you even open your CAD software, gather a few foundational tools. Precision matters here more than you’d think.
- Digital Calipers: Skip the ruler. A decent set of digital calipers is basically mandatory for measuring cards and cardboard tokens down to the millimeter.
- CAD Software: Beginners, start with Tinkercad. It handles basic geometric trays surprisingly well. If you need parametric modeling or complex cutouts, move up to Fusion 360 or Onshape, both industry standards for a reason.
- The Physical Game: Keep the empty box and every component sitting right on your desk. You’ll be test-fitting constantly, and eyeballing it from memory never works.
Step-by-Step Guide to Designing Your Insert
Step 1: Inventory and Grouping
Lay out every single component first. Group them exactly how they’re used during gameplay. Player-specific pieces (starting cards, meeples, tokens) should each get their own individual tray. General supply items like wood, stone, and coins belong in separate resource banks, ideally positioned at opposite ends of the table so nobody’s reaching across the board.
Step 2: Precision Measuring and Tolerances
When designing custom 3D printed inserts for heavy Euro board games, tolerances are what separate a great tray from a frustrating one.
- Internal Clearances: Add at least 1.5mm to 2mm of extra space beyond your measured components. Say a deck of cards measures exactly 44mm thick; make the slot 46mm so you’re not fighting to pull cards out every turn.
- External Clearances: Game box dimensions can vary slightly between print runs, and cardboard warps over time (especially in humid climates). Leave 3mm to 4mm of breathing room between your assembled insert and the inner walls of the box.
Step 3: Virtual Box Tetris
Measure the internal dimensions of the bottom box, then build a dummy “bounding box” in your CAD software matching those numbers. As you design each tray, drop it into this virtual box to check the fit. And don’t forget: the game board and rulebooks usually sit flush on top, so factor in that extra thickness before you call your stack finished.
Step 4: Adding Quality of Life Features
A genuinely premium organizer isn’t just a pile of square boxes stacked together. These small details make the difference:
- Finger Scoops: Add cylindrical cutouts at the bottom of card trays so players can push down and scoop cards out without scraping their nails.
- Filleted Corners: Round the internal bottom edges of resource trays. Skip this and small, flat cardboard tokens will wedge themselves permanently into sharp 90-degree corners, guaranteed.
- Lids and Lips: Add a small recessed lip to the top of each tray. Print matching lids, or stack trays on top of each other, and they’ll lock together securely enough to store the box vertically on a shelf without spilling everything onto the floor.
Best Practices for 3D Printing Game Organizers
Organizers eat through plastic and print time fast, so optimization isn’t optional, it’s necessary.
- Material: PLA is the obvious choice here. It’s cheap, easy to print, and offers plenty of rigidity even in thin walls.
- Wall Thickness: Forget bulletproof. A wall thickness of 1.2mm to 1.6mm (roughly 3 to 4 perimeters on a standard 0.4mm nozzle) is more than strong enough and saves a real chunk of material.
- Infill Strategy: Keep infill low, around 10 to 15 percent, or design walls that match your perimeter thickness exactly so infill printing gets skipped entirely. That trick alone can save you dozens of hours across a full insert set.
Conclusion
Designing custom 3D printed inserts for heavy Euro board games is one of those projects that pays you back every single time you play. Measure carefully, think about how the trays actually get used at the table, and lean on CAD and 3D printing to do the heavy lifting. Do that, and the ziplock bags are gone for good. Grab your calipers, open up your CAD software, and give your favorite heavy board game the storage it’s actually earned.